Deployment Guide
This guide will walk you through the process of deploying a Wazo plugin and getting it ready for production. Wazo system allows you to build custom plugins to extend our functionalities.
Where to Deploy
Great news, you have the full control where it can be deployed. Plugins must be hosted on your infrastructure and Wazo do not take ownership on this part. It's only important to make the plugin accessible publicly from the web. Otherwise, administrator won't be able to the plugin.
CORS Enabled
The manifest.json of your application should be served using a CORS-enabled HTTP server. This must be enabled on your infrastructure to allow Wazo Product to fetch the file's content and enable related features.
manifest.json files should be served using a CORS-enabled http server. If not well configured, it will be impossible to install the plugin.
# nginx
server {
    listen 80;
    server_name your_domain;

    location / {
        add_header 'Access-Control-Allow-Origin' '*';  # Or *.wazo.io
        # Other directives...
    }
}

# Apache
<VirtualHost *:80>
    ServerName your_domain

    <Directory /var/www/html>
        Header set Access-Control-Allow-Origin "*" # Or *.wazo.io
    </Directory>

    # Other directives...
</VirtualHost>
Server Provider
Like said previously, it's your choice where to deploy your plugin. But here's a suggestions of providers dependings on your plugins needs:
- Plugins powered by a backend: AWS, Digital Ocean, OVH, Google Cloud
- Plugins without backend (static): Cloudflare Pages, Netlify, Vercel
Distributing your plugin
The procedure to install a Portal and Apps plugins is a little bit different. Here's steps-by-steps that will guide you from A to Z.
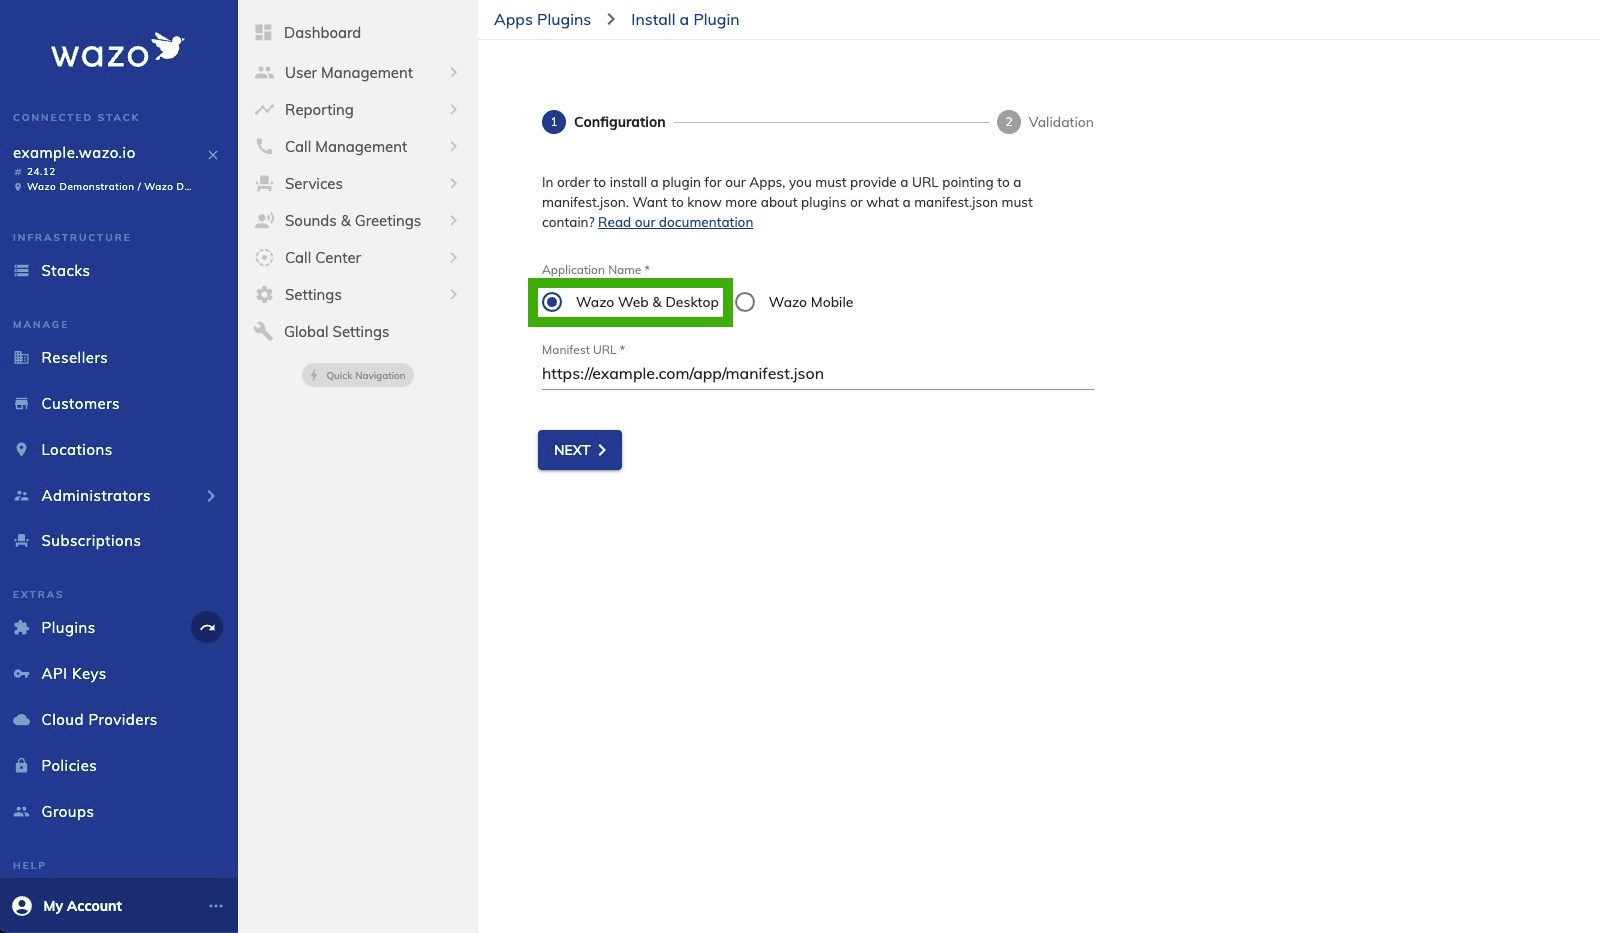
Web & Desktop Plugin
- Connect to E-UC Portal
- Go to Plugins > Apps
- Select the location you want to install a plugin on
- Click the Install button
- Select Application Name choice Web & Desktop
- Insert the URL of your
manifest.json - Enjoy!
Enable plugins for specific users
- Connect to a stack or location
- Go to
Settings > Debugging Tools > Auth. Users. - Choose your user and then click on
Application Configuration - If no application is configured, create a new configuration for your application.
- In the Plugins section, insert the URL to your
manifest.json - Enjoy!
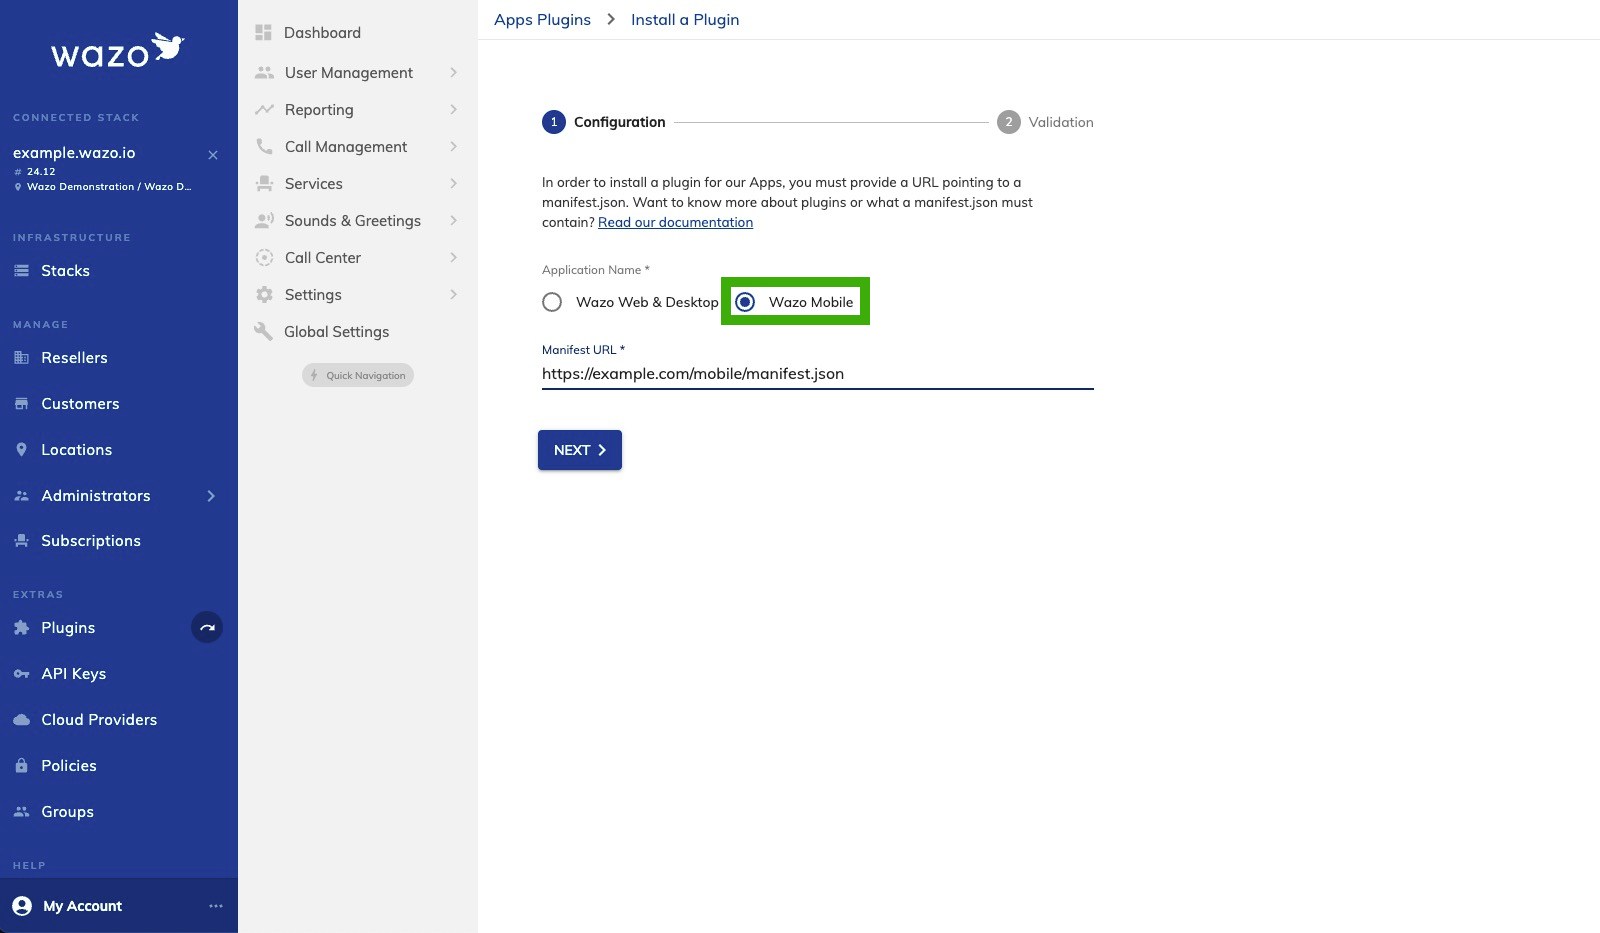
Mobile Plugin
- Connect to E-UC Portal
- Go to Plugins > Apps
- Select the location you want to install a plugin on
- Click the Install button
- Select Application Name choice Mobile
- Insert the URL of your
manifest.json - Enjoy!
Portal Plugin
- You must be connected to E-UC Portal
- Go to
Plugins> Portal - Click the Install button
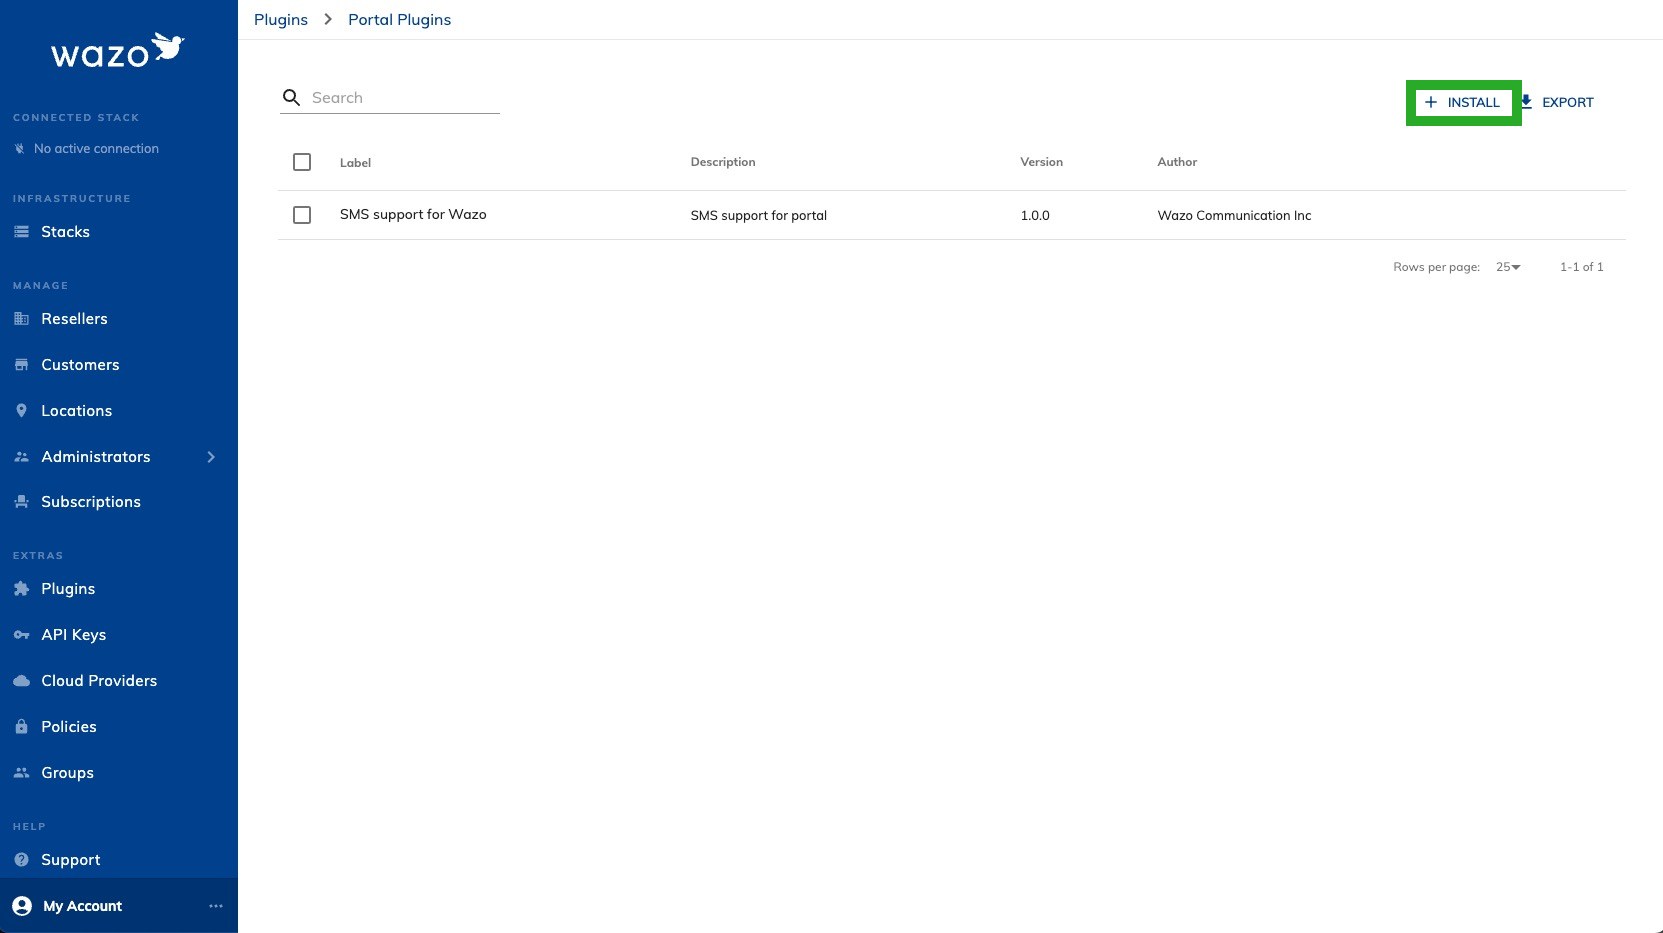
- Then enable the plugin Globally or for a specific
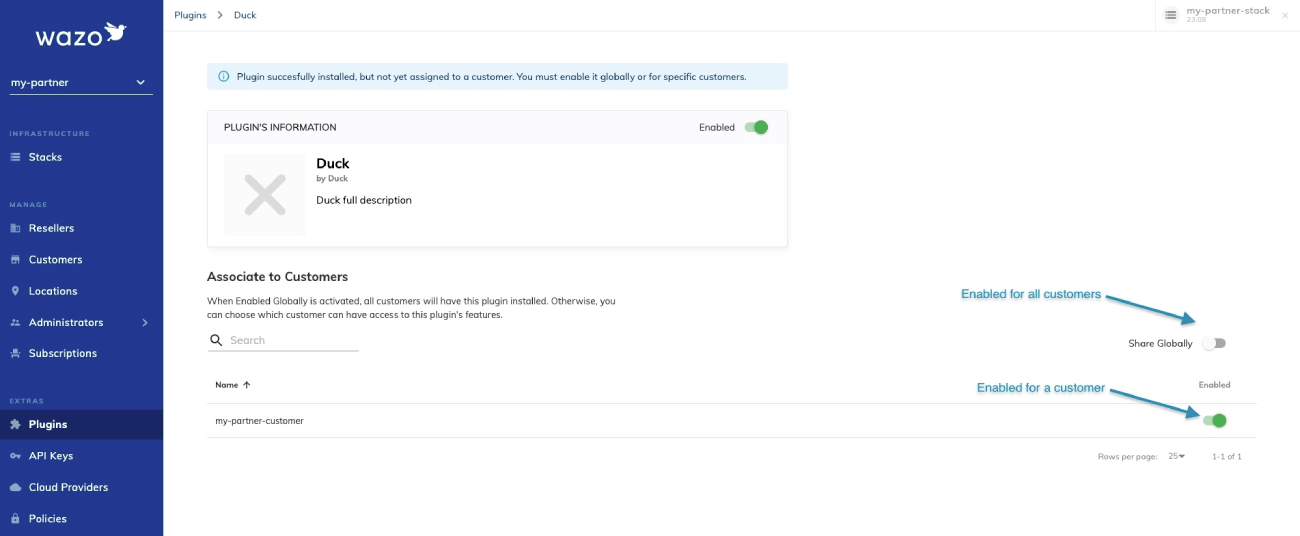
- Enjoy!